How I glaze test
Making your own glazes in my opinions is one of the greatest reasons to invest in a home studio setup. You have complete control over your firing schedules, temperatures, and kiln setup.
That being said, is a huge time sink and can easily become its own hobby. For me, I find it rewarding enough to keep doing it. I go through cycles of making pieces but also cycles where all I do it glaze development. Here’s how I figure out what glazes I like.
Start with a base recipe
For testing a wide variety of glaze variations, I use a basic “base” recipe you that can be modified with colorants and opacifiers later. Similar to how all ice cream has the same base with added flavor combos, glazes can act similarly. So I ignore the fancy special effects glazes (for now) and decided I’d like to rely on a simple base with fairly easy to source ingredients that I could really get to understand and experiment with. Going this route also lets you avoid having way too many glaze ingredients in the beginning which can get expensive. So I picked a base and stuck with it.
Make test tiles
All the test glazes need to go on something, and in that case making 20+ perfectly trimmed cups and bowls only to run with a bad glaze test isn’t worth it. So I make tons of test tiles by cutting them from a slab. Some folks make pieces that stand up on their own on the wheel, but I like the slab cut ones because its quick to make a lot of them at once. My test tiles are less than 2” so they don’t need a lot of glaze coverage.
Do some math to reduce waste
After I have my tiles that have been fired once (“bisqued”) and my base glaze ready, I’ll plan what I want to test in my notebook. There’s some math involved here because I try to figure out how I can test the smallest amount of glaze so I don’t have too much waste.
I feel like this is where I differ from other resources that talk about how to glaze test. Most recipes are written out with the assumption that you want to make 100g of dry glaze which can make ~150-200 ml of wet glaze depending on how much water you add. If you want to test a lot of combinations this can result in a lot of wasted glaze. In my case I really only need 2-4 ml of glaze to use for a test tile, so I work my way backwards and calculate how much dry colorant I need to add to 10 ml of wet glaze to get the percentage I want. If you know the specific gravity (ratio of dry glaze to water), you can get a general calculation going.
To cover a tile I need a minimum of 2-4 ml of glaze (yes, thats extremely small). I use about 10 ml for each sample though. Let’s say for this example I want to test what 1% of adding black mason stain to 10 ml of my base glaze will look like.
I’ll need to know what the specific gravity (ratio of dry glaze to water) is (from my testing, I find 1.45 SG works well for this particular recipe, so I’ll go with that). A specific gravity of 1.45 means 1 ml of glaze weighs 1.45 grams. So, 10 ml of glaze weighs 14.5 grams total.
Because I know the specific gravity, I can calculate how much dry glaze is in 10 ml of wet glaze. Water has a specific gravity of 1.0, so we can determine proportion of the total glaze weight that is dry with the following formula:
Example:
So for 10 ml of this glaze, we now know it contains 4.5 grams of dry material. 1% of that is 0.045, so this is how much black mason stain I should add to my wet glaze to achieve 1% composition. I use a jewelry scale that has 0.001 precision to measure the amount out, and then i’ll add that to 10 ml glaze.
Generally it isn’t advised to add dry to wet ingredients for making glaze (normally you combine all dry ingredients and add it to the water), but for initial testing purposes this is good enough for me. I will run the glaze through an 80 mesh sieve if its not appearing to blend well with a toothbrush (this is why I make 10ml samples since you’ll “lose” 1-2 ml if you sieve). This isn’t perfection, but I’m just looking to get a general sense for what colors might be revealed for each test sample. Anything I end up liking will be re-tested using the “traditional” way of making a test batch (i.e., making a 100g dry sample and adding it to my desired amount of water to the same specific gravity). This approach ensures I have very little glaze wasted.
Test photos
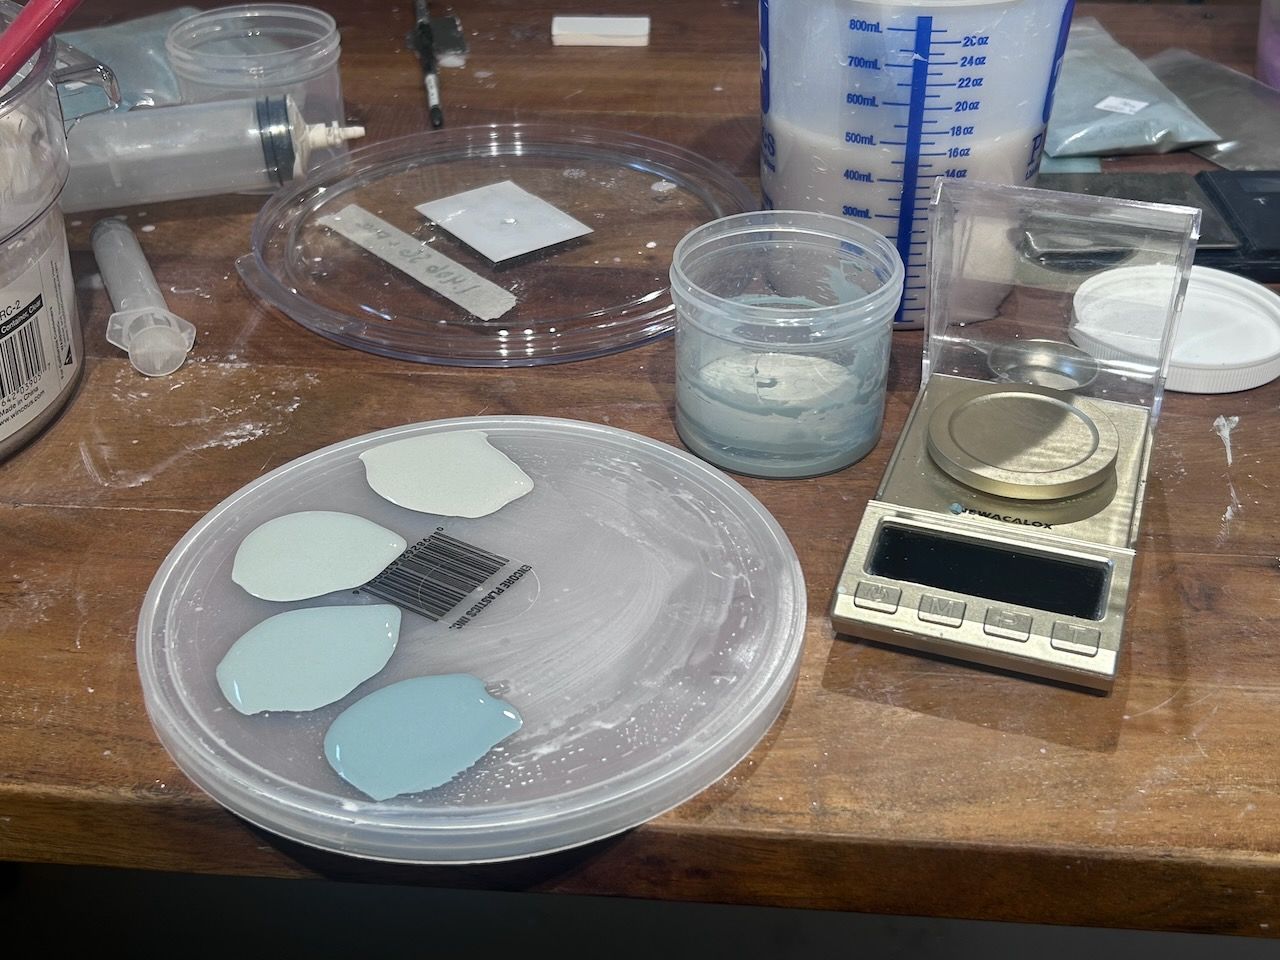 Line blend setup
Here are some photos from some recent tests. Above, I’ve created four glaze samples where a 1% black mason stain was diluted with my base glaze in what’s called a “line blend”.
I’ll write on the back of each tile what the percentage used was before dipping the front of them in each small pool of glaze. Below is the result, where the darkest tile contained the highest percentage of the stain.
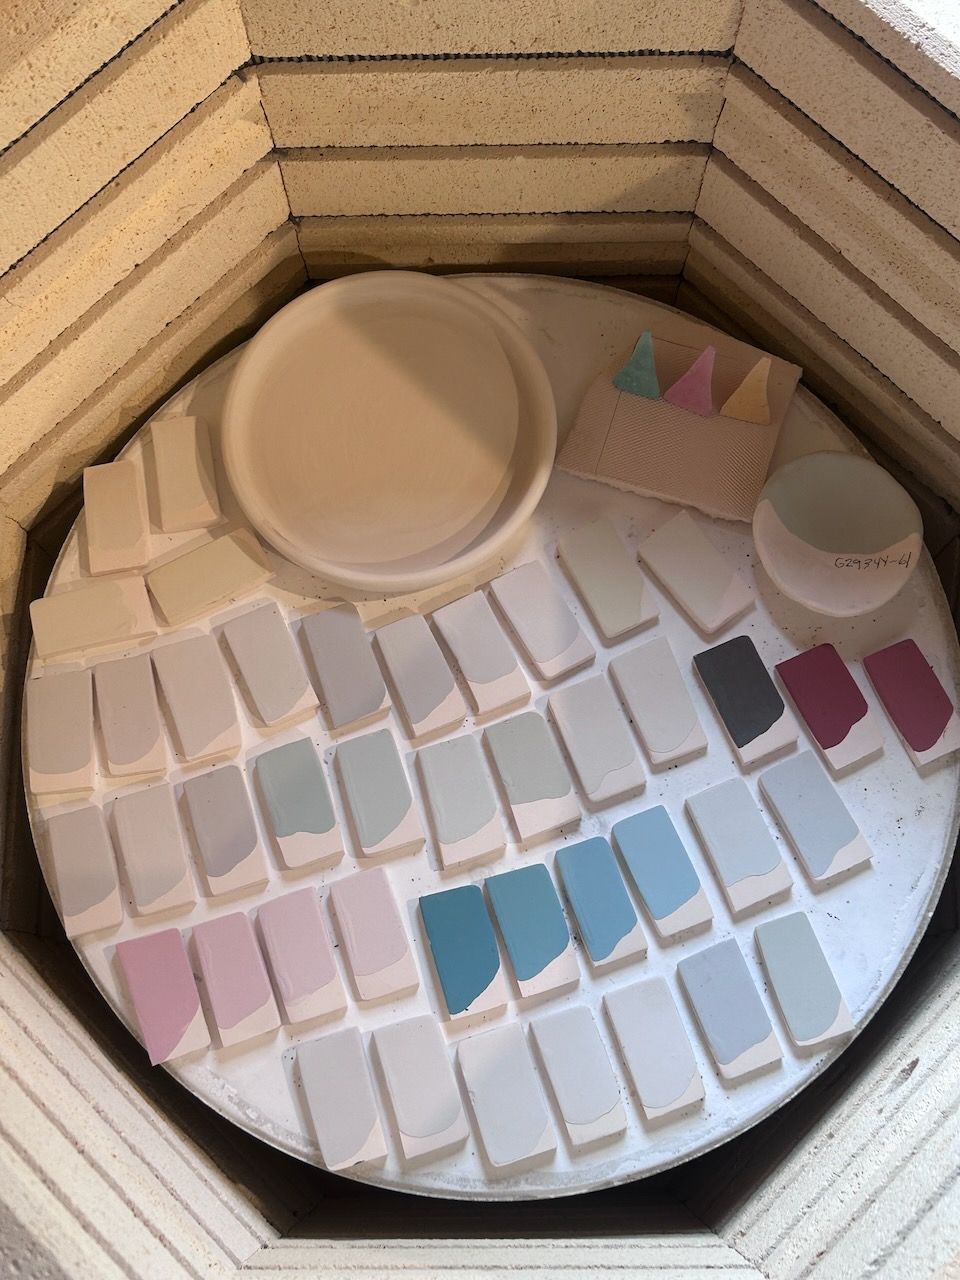
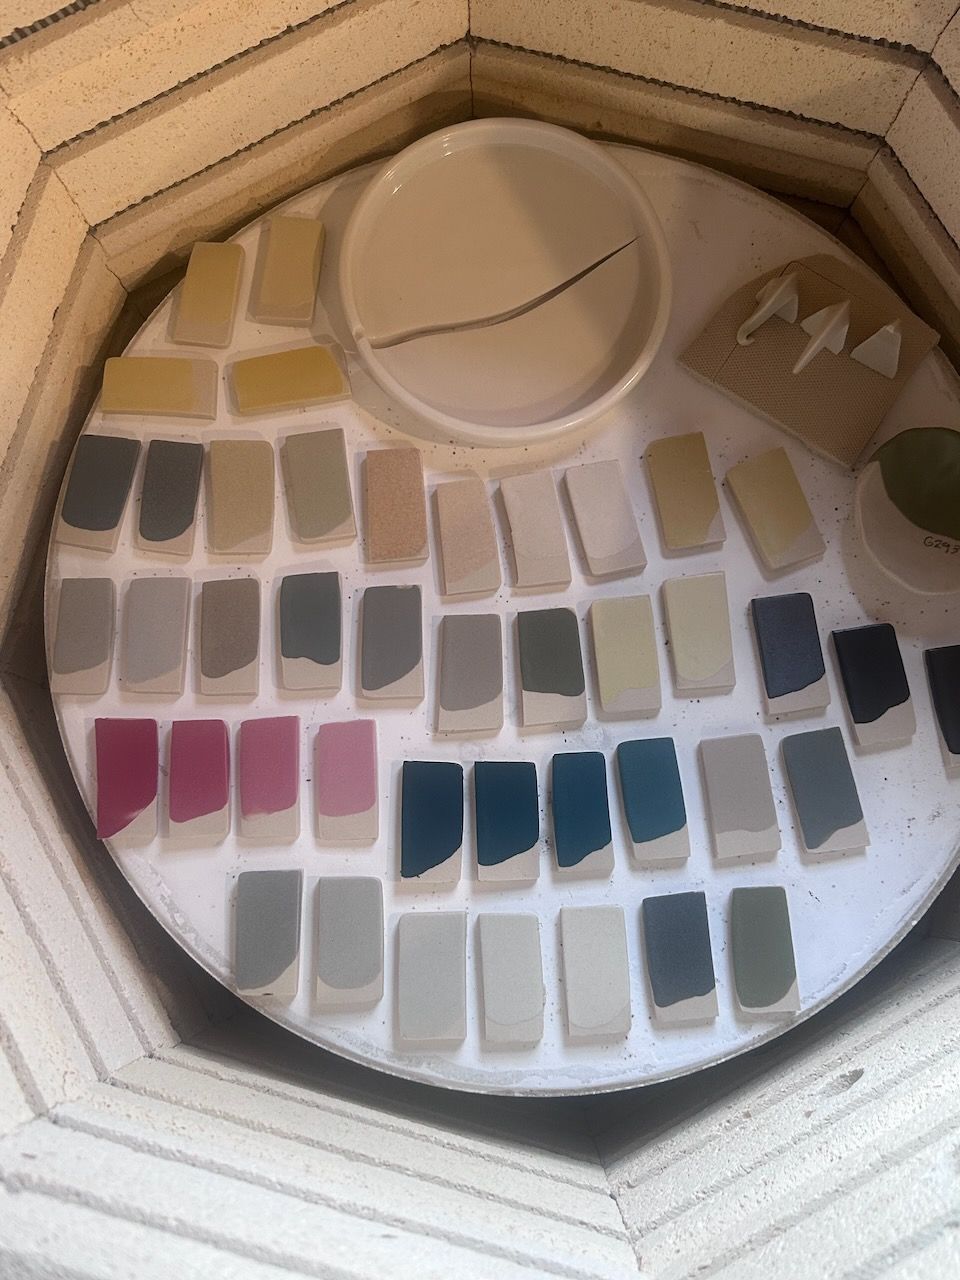
 Line blend results
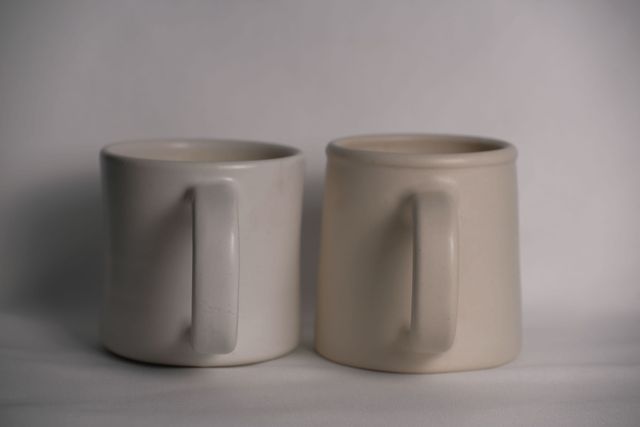
And here’s a before & after of tiles that have run through a glazing cycle, with a bonus broken plate. I also want to highlight the very small bowl on the upper right - this is a larger test of a color I ended up liking, so I’ll try this on a couple of different smaller shapes beyond a tile before committing to a larger batch.
Once tiles are fired, I make notes of what I like in my notebook, and figure out what I want to test again. I’ve started to photograph every single tile as well to create a digital catalog of what I’ve tried. I’ve put a lot of time into learning how to photograph tiles, so I’ll do a follow up post about that process.
Helpful tools for glaze testing
Here are my most used tools I use for glaze testing:
- 80 mesh small test sieve (I have the Talisman brand)
- A small toothbrush or bristle brush to mix glazes and push through sieves
- Small containers for mixing
- A digital scale, 0.001 precision (or 0.01 if you don’t want to spend a lot but lose some accuracy)
- Several 10 ml syringes for dispensing samples
- A black underglaze pencil for writing on test tiles